Master the Art of Painting for Stunning Results in Your Next Home Renovation Project
Introduction: Transform Your Home with Professional-Level Painting
Are you ready to breathe new life into your home? Painting is one of the most cost-effective and transformative home renovation techniques. Whether you’re updating a tired living room, refreshing your bedroom, or giving your trim and doors a crisp new look, learning how to paint like a pro can make all the difference. In this comprehensive beginner’s guide, you’ll discover expert tips, must-have tools, and the secrets professionals use to achieve flawless walls and trim every time.
Painting isn’t just about slapping colour on the wall. It’s about preparation, technique, and attention to detail. With the right approach, you can achieve smooth, streak-free walls and sharp, clean trim lines that rival any professional’s work. Let’s dive in and unlock your home’s true potential with this step-by-step guide to painting like a pro.
- Why Paint Your Walls and Trim?
- Essential Painting Tools and Supplies
- Choosing the Right Paint and Finish
- Prepping Your Space for Painting
- Repairing Walls and Trim for a Smooth Finish
- Taping and Masking: Secrets to Clean Lines
- Priming: The Foundation of Flawless Paint
- Painting Walls Like a Professional
- Techniques for Perfect Trim Painting
- Dealing with Common Painting Problems
- Cleanup, Touch-Ups, and Maintenance
- Bonus Tips: Pro Painter Tricks and Home Renovation Inspiration
- Frequently Asked Questions
- Conclusion: Step Back and Admire Your Work
Why Paint Your Walls and Trim?
Painting walls and trim isn’t just about aesthetics. It’s about protecting your surfaces, increasing your property value, and expressing your unique style. The right paint job can:
- Brighten dark or dated rooms
- Make small spaces feel larger
- Highlight architectural features
- Seal and protect woodwork and drywall
- Add curb appeal and resale value
By learning to paint like a professional, you can save hundreds (or even thousands) of dollars and enjoy the satisfaction of a job well done.
Essential Painting Tools and Supplies
A flawless outcome starts with the right tools. Equip yourself like a pro with these essential painting supplies:
- High-quality paint brushes (angled for trim, straight for walls)
- Premium paint rollers and roller covers
- Paint trays and liners
- Painter’s tape (blue or green for clean edges)
- Drop cloths or plastic sheeting
- Putty knife and spackling compound
- Sandpaper or sanding block (fine and medium grit)
- Step ladder or sturdy platform
- Caulking gun and paintable caulk
- Primer (for new or stained surfaces)
- Clean rags or tack cloths
- Extension pole for rollers (for high walls and ceilings)
- Paint can opener and stir sticks
Investing in top-quality tools improves your results and makes painting easier and faster.
Choosing the Right Paint and Finish
The type of paint you select is just as important as your technique. Consider these factors for walls and trim:
Paint Types
- Latex (Water-Based) Paint: Dries quickly, low odor, easy cleanup. Great for most interior walls and trim.
- Oil-Based Paint: Durable and smooth, ideal for trim and high-traffic areas, but with longer drying times and stronger odor.
Finishes
- Flat/Matte: Hides imperfections but harder to clean. Best for ceilings and low-traffic walls.
- Eggshell: Slightly more sheen, easier to clean. Popular for living rooms and bedrooms.
- Satin: Soft sheen, washable. Good for kitchens, bathrooms, and hallways.
- Semi-Gloss: Shiny, durable, and easy to clean. Excellent for trim, doors, and cabinets.
- Gloss: Highest sheen, very durable. Ideal for trim and accent pieces.
For most walls, eggshell or satin is a safe bet. For trim, use semi-gloss or gloss for a crisp, durable finish.
Prepping Your Space for Painting
Preparation is the secret weapon of every professional painter. To achieve flawless results:
- Clear furniture or move it to the centre of the room and cover with drop cloths.
- Remove wall hangings, outlet covers, and switch plates.
- Vacuum or dust walls and trim to remove loose dirt and cobwebs.
- Protect floors with drop cloths or plastic sheeting.
- Mask off baseboards, window frames, and adjacent surfaces with quality painter’s tape.
- Ensure the space is well-lit and ventilated.
A clean, clutter-free room makes painting safer and more efficient. Don’t rush this step—attention to detail here yields professional results later.
Repairing Walls and Trim for a Smooth Finish
Don’t paint over imperfections! Use these steps to create a flawless canvas:
- Inspect walls and trim for cracks, holes, dents, or peeling paint.
- Fill nail holes and minor dents with spackling compound; let dry completely.
- Sand repaired areas until smooth and level with the surrounding surface.
- Remove dust with a tack cloth or damp rag.
- For gaps in trim or between trim and walls, apply a bead of paintable caulk and smooth with a wet finger.
- Prime any patched or stained areas before painting.
Taking the time to repair surfaces ensures your final paint job looks seamless and polished.
Taping and Masking: Secrets to Clean Lines
Painter’s tape is your ally for crisp, sharp lines between walls and trim. For the best results:
- Choose the right tape for your surface (delicate for wallpaper, standard for drywall or wood).
- Press tape down firmly along edges to prevent paint bleed.
- Paint over the edge of the tape with the base wall colour first for ultra-sharp lines.
- Remove tape while the paint is still slightly tacky—don’t let it fully dry.
Skilful taping separates a “DIY” look from a truly professional finish.
Priming: The Foundation of Flawless Paint
Primer evens out surfaces, blocks stains, and ensures strong paint adhesion. Always prime when:
- You’re painting over bare drywall, wood, or stained surfaces.
- Switching from very dark to very light (or vice versa) paint colours.
- Dealing with patched or repaired spots.
- Painting high-moisture areas like kitchens and baths.
Use a high-quality primer and allow it to dry fully for the best results.
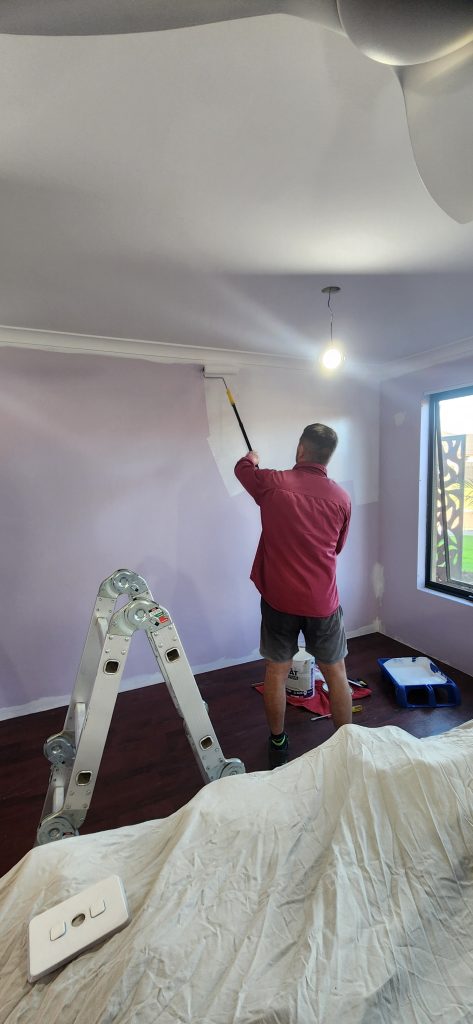
Painting Walls Like a Professional
Now for the main event! Achieve flawless walls with these steps:
Cutting In
- Load an angled brush with paint and carefully “cut in” around edges, corners, and trim. Use smooth, steady strokes for a straight line.
- Work in small sections to keep edges wet and prevent visible lines.
Rolling Your Walls
- Pour paint into a tray and roll your roller to evenly distribute paint (avoid overloading).
- Start at the top of the wall and work down in a “W” or “M” pattern, then fill in.
- Maintain a wet edge to avoid lap marks and keep your pressure consistent.
- Let paint dry fully between coats.
- Apply a second coat for full coverage and a smooth, even finish.
Techniques for Perfect Trim Painting
Trim (baseboards, window frames, doors, crown molding) demands precision. Here’s how to get it right:
- Sand the trim lightly to remove gloss and improve adhesion.
- Wipe clean and tape adjacent surfaces.
- Use a high-quality angled brush for control.
- Apply paint in long, smooth strokes, following the grain of the wood.
- Don’t overload your brush to avoid drips and brush marks.
- Let dry, lightly sand between coats, and apply a second coat if needed.
Pro tip: Remove tape from trim shortly after painting, before the paint fully cures, for razor-sharp lines.
Dealing with Common Painting Problems
Even the pros run into issues. Here’s how to troubleshoot:
- Drips and Sags: Sand lightly and repaint.
- Roller Marks: Use a quality roller and maintain a wet edge.
- Paint Bleed Under Tape: Seal tape edges with a colour-matched base coat first.
- Poor Coverage: Use primer or a second coat.
- Streaks and Lap Marks: Work quickly and blend edges while wet.
Cleanup, Touch-Ups, and Maintenance
The job isn’t done until the cleanup is complete. Follow these steps:
- Remove tape gently at a 45-degree angle.
- Wash brushes and rollers with warm, soapy water (for latex paint) or mineral spirits (for oil-based paint).
- Seal leftover paint cans tightly for future touch-ups.
- Store tools in a dry place.
- Clean up spills and drips immediately.
- Touch up any missed spots or imperfections with a small brush.
Proper maintenance helps your paint job look vibrant for years to come.
Bonus Tips: Pro Painter Tricks and Home Renovation Inspiration
- Work when humidity is low for faster drying and better adhesion.
- Don’t skimp on paint quality—premium paints offer better coverage and durability.
- Use an extension pole for high or hard-to-reach areas.
- Keep a damp cloth handy to wipe away mistakes as you go.
- For accent walls or bold colours, consider a tinted primer for true colour payoff.
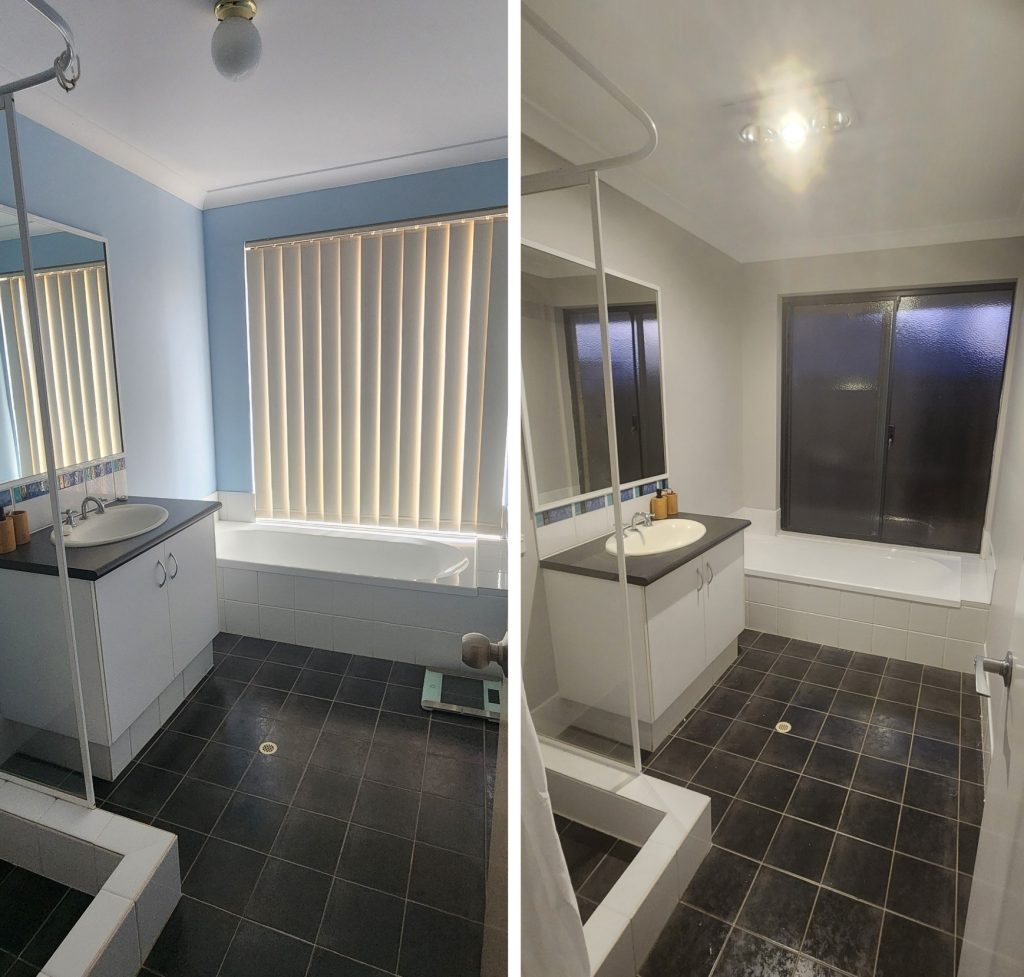
- Take before-and-after photos to capture your transformation journey.
Frequently Asked Questions
How many coats of paint do I need?
Generally, two coats of paint provide full coverage and a rich, even colour. Primed and prepped walls may need just one coat with high-quality paint.
What’s the best way to paint corners?
Use a small, angled brush for detailed work in corners, and feather out the paint for a seamless blend with rolled areas.
Can I paint over old paint?
Yes, as long as the existing paint is clean, dry, and in good condition. Sand glossy surfaces and repair any imperfections before painting.
How do I avoid brush marks on trim?
Use a quality brush, don’t overload it with paint, and apply in long, even strokes. Sand lightly between coats for a glass-smooth finish.
What’s the best paint finish for high-traffic areas?
Satin or semi-gloss finishes are durable and easy to clean, making them ideal for kitchens, hallways, and children’s rooms.
Conclusion: Step Back and Admire Your Work
Painting your walls and trim is a powerful way to refresh your home, boost its value, and unleash your creativity. With the techniques and tips outlined in this guide, even beginners can achieve flawless, professional-looking results. Remember, the key to success is preparation, patience, and investing in quality tools and materials.
Whether you’re tackling a single room or your entire house, you now have the knowledge to paint like a pro. So roll up your sleeves, pick your favourite colour, and watch your home renovation dreams come to life—one brushstroke at a time.
For more expert home renovation advice, DIY tutorials, and inspiration, explore the rest of our website. Happy painting!