Flyscreens are an essential part of any home. They provide a barrier to keep pesky insects, dust, and debris out of your living space while allowing fresh air to flow freely. Over time, flyscreens can become worn, torn, or damaged due to weather conditions, age, or simple wear and tear. Replacing them can restore the effectiveness of your windows and improve the overall comfort of your home. In this article, we’ll guide you through everything you need to know about replacing the flyscreens on your windows, including when to replace them, the different types of flyscreens, who can replace them, and a step-by-step process for DIY replacement.
When to Replace Flyscreens
Flyscreens generally last a long time if maintained properly, but they will inevitably need to be replaced at some point. Here are a few common signs that indicate it’s time to replace your flyscreens:
Visible Damage or Holes: If you notice holes or tears in your flyscreen, it’s time for a replacement. Even small tears can let insects in, defeating the purpose of the flyscreen entirely.
Sagging or Loose Screens: If your flyscreen is sagging, loose, or no longer fits tightly in its frame, it may need replacing. A screen that isn’t taut or properly secured won’t be effective at keeping pests out.
Rust or Corrosion: Over time, metal screens, such as aluminum or steel, can rust, which weakens the screen and causes further damage. If the screen is rusted or corroded, it’s best to replace it before it deteriorates further.
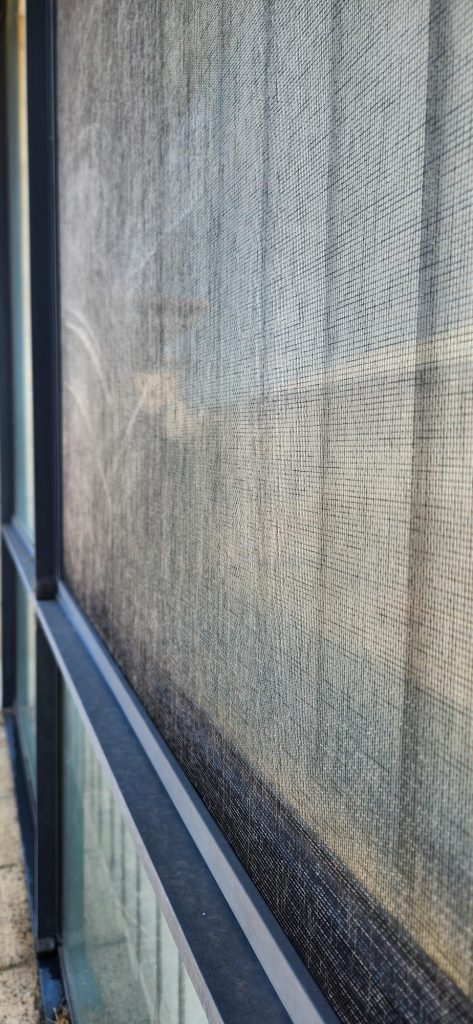
Worn-out Mesh: Flyscreens made from fabric mesh can degrade over time, especially in areas with harsh sunlight or extreme weather conditions. If the mesh is worn thin or has discolored, it’s time for a change.
Aesthetic Reasons: Even if the screen is still functioning well, sometimes you may want to replace it simply to maintain the look of your windows or to upgrade to a newer, more durable mesh.
Different Types of Flyscreens
Flyscreens come in several types, each suited to different needs and preferences. Below are the most common types of flyscreens you may encounter in your home:
Fixed Flyscreens
Fixed flyscreens are permanently attached to the window frame. They are typically made of durable mesh material stretched across a frame. Fixed flyscreens are ideal for windows that are not frequently opened but still need insect protection.
Removable Flyscreens
These screens can be easily removed and reinstalled. They are usually held in place with clips, springs, or screws. Removable flyscreens are more versatile than fixed screens and are ideal for windows that you open frequently.
Retractable Flyscreens
Retractable flyscreens are designed to roll up or retract into a housing when not in use. These screens are often made from mesh fabric and can be pulled out when needed, offering a sleek, modern look while still providing the necessary protection from insects.
Magnetic Flyscreens
Magnetic flyscreens consist of mesh material with magnetic strips that allow you to easily attach the screen to your window frame. These screens are simple to install and remove, making them a popular choice for temporary solutions or for people who frequently need to remove and reinstall their screens.
Pleated Flyscreens
Pleated flyscreens are similar to retractable screens but are designed with a pleated fabric that folds up like an accordion when not in use. These screens are perfect for large doors or windows and provide a smooth, easy-to-use solution.
Who Can Replace Flyscreens?
Replacing a flyscreen is a fairly straightforward process that many homeowners can tackle themselves. However, there are some situations where it may be best to call in a professional:
Complex Window Designs: If you have unusual window shapes or intricate designs, replacing the flyscreen may require a more specialized approach.
Frame Damage: If the frame of the window is damaged or requires repair, a professional can ensure that both the frame and the screen are properly fixed.
Lack of Time or Tools: If you don’t have the time or tools to do the job yourself, hiring a professional window technician can save you the hassle.
Custom Screens: If you need custom-sized flyscreens or specific materials, professionals can help you select and install the right screen for your windows.
For most DIY enthusiasts, however, replacing flyscreens is a manageable task that requires just a few basic tools and some patience.
Tools Required for Replacing a Flyscreen
Before you begin, make sure you have all the necessary tools for the job. Here’s a list of the basic tools you’ll need:
– Screwdriver: To remove screws from the window frame (if necessary).
– Utility Knife: For cutting the flyscreen mesh to the correct size.
– Measuring Tape: To ensure the new mesh fits the window frame correctly.
– Flyscreen Frame or Frame Clips: If you need to replace the frame itself.
– Stapler or Tensioning Tool: For securing the mesh to the frame.
– Pliers: To tighten or secure any clips or fasteners.
– Scissors: For trimming excess mesh material.
– Cyclone Preview Flyscreen Mesh: This is the material you will use to replace the existing mesh.
How to Remove Flyscreens from Your Home Windows
The process of removing a flyscreen depends on the type of screen you have. Here’s how to remove common types of flyscreens:
Fixed Flyscreens
1. Examine the Frame: Check if the screen is secured with screws, nails, or a tight frame.
2. Remove Screws or Nails: Use a screwdriver or hammer to remove any fasteners holding the frame in place.
3. Carefully Pull the Screen: Gently pull the screen from the window frame, ensuring you don’t damage the frame or surrounding window.
Removable Flyscreens
1. Locate the Fasteners: Check for clips, springs, or screws holding the screen in place.
2. Release the Clips or Springs: If the screen is held in place with clips or springs, gently unclip or unspring them to release the screen.
3. Remove the Screen: Once the fasteners are removed, carefully pull the screen out of the frame.
Retractable and Magnetic Flyscreens
1. Release the Retractable Mechanism: For retractable screens, you will need to release the retraction mechanism (usually a latch or handle) before you can remove the screen.
2. Remove the Magnetic Strips: For magnetic flyscreens, gently pull apart the magnetic strips to detach the screen from the window frame.
Pleated Flyscreens
1. Release the Accordion Mechanism: For pleated screens, carefully release the folding mechanism, which should allow you to slide the screen out of the window frame.
Step-by-Step Guide: How to Replace Your Flyscreen with Cyclone Preview Mesh
Once you’ve removed the old flyscreen, follow these steps to replace it with a new one made of Cyclone Preview mesh:
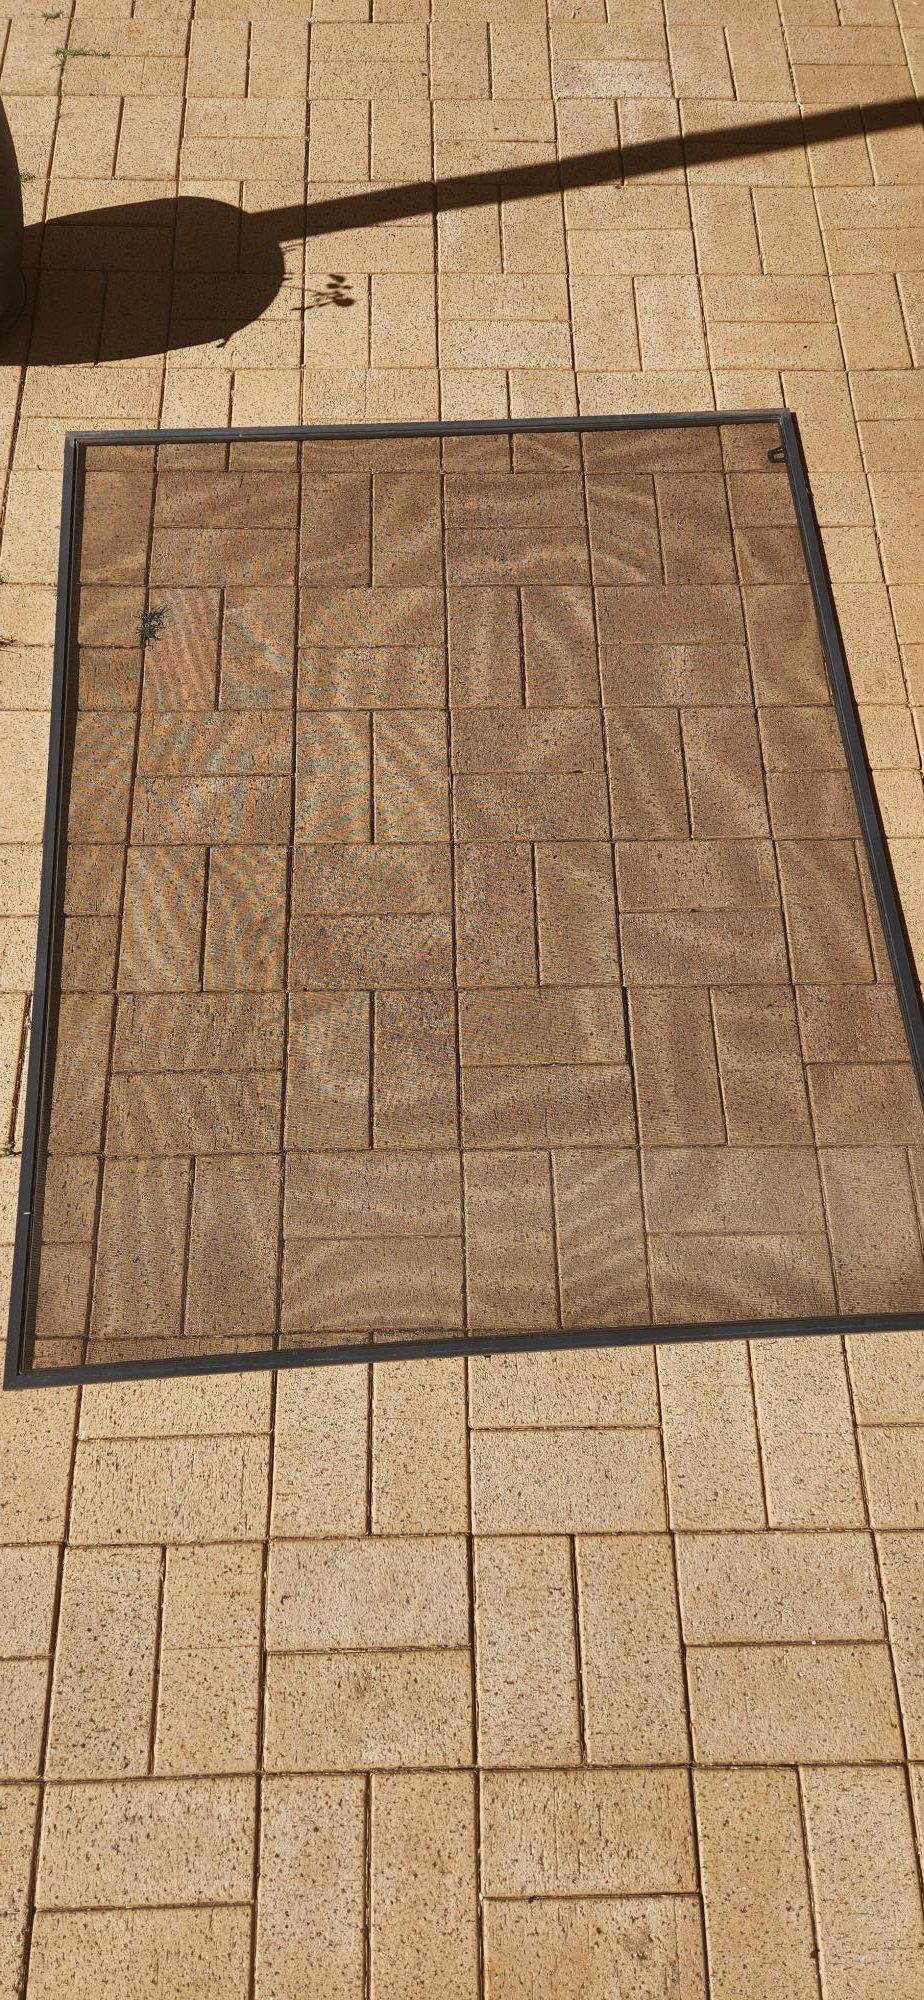
Step 1: Measure the Window Frame
Use a measuring tape to measure the width and height of your window frame. Be sure to take accurate measurements, as a well-fitting flyscreen is essential for effective insect protection.
Step 2: Cut the New Mesh
Unroll the Cyclone Preview mesh and place it over the window frame. Use a utility knife to cut the mesh, leaving a little extra material around the edges to ensure it fits securely.
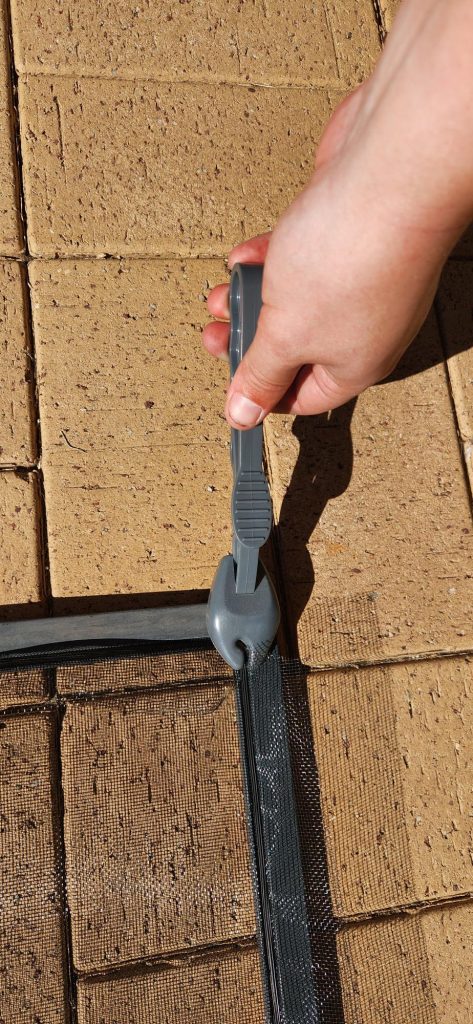
Step 3: Secure the Mesh to the Frame
Place the mesh over the frame, ensuring it’s taut and even. Use a stapler or a tensioning tool to attach the mesh to the frame. If the screen has a rubber seal or spline, use pliers to press the spline into the frame, securing the mesh.
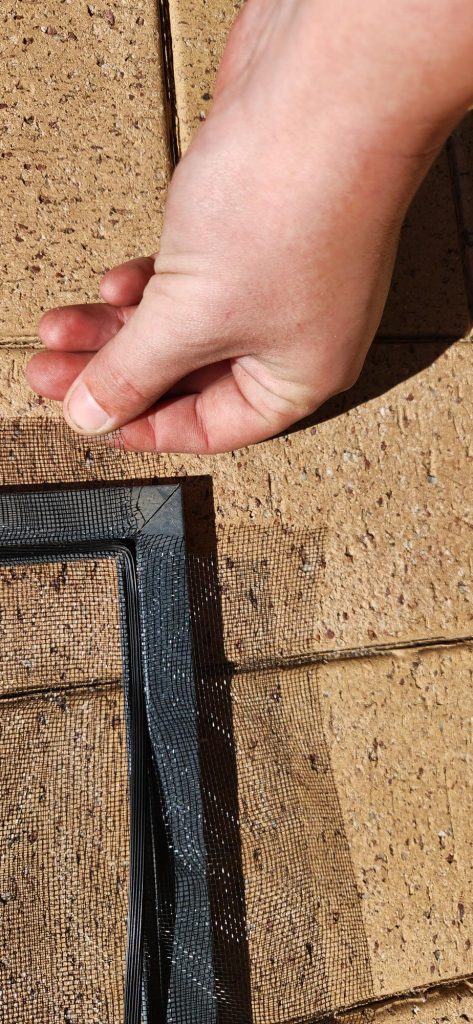
Step 4: Trim Excess Mesh
Once the mesh is secured, use scissors or a utility knife to trim away any excess material. Leave a small margin around the edges to ensure the mesh stays in place.
Step 5: Reinstall the Flyscreen
Carefully place the flyscreen back into the window frame. If your screen uses screws or clips, reattach them to secure the screen in place.
Step 6: Test the Screen
After reinstalling the flyscreen, gently tug on the mesh to make sure it’s secure. Check for any gaps or loose areas and adjust the screen as needed.
Conclusion
Replacing a flyscreen is a simple yet effective way to protect your home from pests and improve airflow. By understanding when to replace your flyscreen, the different types available, and following the proper steps to remove and install a new screen, you can easily maintain your windows without the need for professional help. Using Cyclone Preview mesh ensures that your flyscreen is durable and long-lasting, offering superior protection from insects while maintaining clarity and airflow. With the right tools, a little patience, and this step-by-step guide, you’ll have your windows fitted with new flyscreens in no time.